Posted: May 26, 2021 Updated:

Active Directory is a function provided in Windows Server to manage the functions and user information of Windows PCs, but
QNAP NAS can also be linked with Active Directory.
For companies operating Windows Server, inheriting Active Directory settings is a great advantage.
If you can import the accounts in the Active Directory server to the NAS, user management will be much easier.
In this article, I will introduce how to join QNAP NAS to Active Directory or make it a domain controller of Active Directory to create users, manage access rights, and set guest accounts.
Contents [ hide ]
What is Active Directory?

Active Directory is a directory system in the Windows environment.
It is a mechanism that centrally shares, manages, and stores data and resources in the network, and Windows Server, which is an OS for servers, has that function.
A directory is a "list of data and resources" that records and manages the locations and relationships of each.
In Active Directory, relationships between data and resources are described in areas called "domains ."
Resources refer to everything on the network, such as departments, departments, and teams, as well as various devices such as users and printers.
Everything connected to the network is managed by Active Directory, the "domain controller".
The domain controller certifies that the user in the domain is "who" and passes the ticket so that they can access the resources that are relevant to the user.
Thanks to this, users do not have to authenticate with a password etc. every time they access a resource.
Originally, a server-specific OS such as Windows Server is required, but QNAP NAS has a function to link with Active Directory and can achieve the same role.
Join QNAP to Active Directory
One way to work with it is to join QNAP to your existing Active Directory .
This will add Active Directory users and groups to QNAP's shared folders.
Also, if you move the files in Active Directory to QNAP, you can continue to use it without changing the user privileges even if the domain controller is updated .

How to configure QNAP to join Active Directory
① First, log in to QTS and open the "Control Panel".

(2) Open "Domain Security" in "Permission Settings".

(3) Check "Active Directory Authentication" to display the setting items, and click "Manual Configuration".

(4) Enter 5 items in "Active Directory Settings": "Domain NetBIOS name", "AD server name", "Domain", "Domain administrator user name", and "Domain administrator password" .
"Adding NAS to organizational unit" and "Server description" are optional and can be omitted. When you're done, click Join and wait for the join process to finish.

(5) After joining Active Directory, set the access right.
From the QTS control panel, click the "Shared Folder" icon in the red frame on the left. Select the shared folder you want to set, and then select the "Edit shared folder permissions" icon in the red frame on the right.

⑥ Select "Add" in the access setting window that appears next.

(7) Select "Domain user" or "Domain group" in "Select user type" on the upper left of the user setting window.

⑧ When the list of Active Directory users is displayed, grant RO (read-only), RW (read / write), or Deny (access denied) permissions individually. Click "Add" to complete the Active Directory user participation settings.
How to configure QNAP to be an Active Directory domain controller

Even in a network without Windows Server, you can build an Active Directory environment by setting QNAP as a domain controller.
Single sign-on authentication, centralized management of users or groups, and management of shared directories are feasible.
① First, log in to QTS and open the "Control Panel". Click "Domain Controller" from the permission settings to display the setting screen.

(2) Check "Enable domain controller".
(3) The AD domain controller setting items will appear. Enter any of the "Domain" and "Administrator password".
The password must contain at least 3 letters, uppercase letters, lowercase letters, numbers, and symbols, and must be set with at least 8 characters.
If the password setting verification gauge turns green, it passes.
(4) When you re-enter the password and press "Apply", a warning message will appear. Select "Yes" to start building the domain controller. After completion, tabs such as "User", "Group", and "Computer" will be created on the setting screen.
⑤ Next is user creation.
Click the "User" tab on the AD domain controller setting screen to display the list.
Click "Create", then "Create User", and when the AD User Creation Wizard appears, click the "Next" button.
The "Username", "Password" and "Retype Password" screens will be displayed, but creating the "Password" is the same as the "Administrator Password" of the domain controller described above.
After that, set "User Account Options" and "User Groups" and you're done. You can create multiple users if they are numbered.
Granting access to a shared folder is the same procedure as when QNAP joins Active Directory.
Click the shared folder icon and set the access rights for each user from the control panel.


Is it possible to access with a guest account?

You can also access QNAP NAS with a guest account. However, it is necessary to set the access right in advance.
(1) Open the QTS control panel, select "Win / Mac / NFS" and then "Microsoft Network" from the menu, and proceed to the "Advanced Options" screen.

(2) "Restrict anonymous users from accessing SMB shared folders" at the bottom is the item that determines the access right of the guest account.
By default, it is "Enabled (Strict)", but if you change it to "Disabled" or "Enabled", you are done.

Click here for a highly convenient NAS that can also manage users
How was it?
By setting the Active Directory introduced this time, the data administrator does not need to register as a user on each computer, which makes it easier to manage.
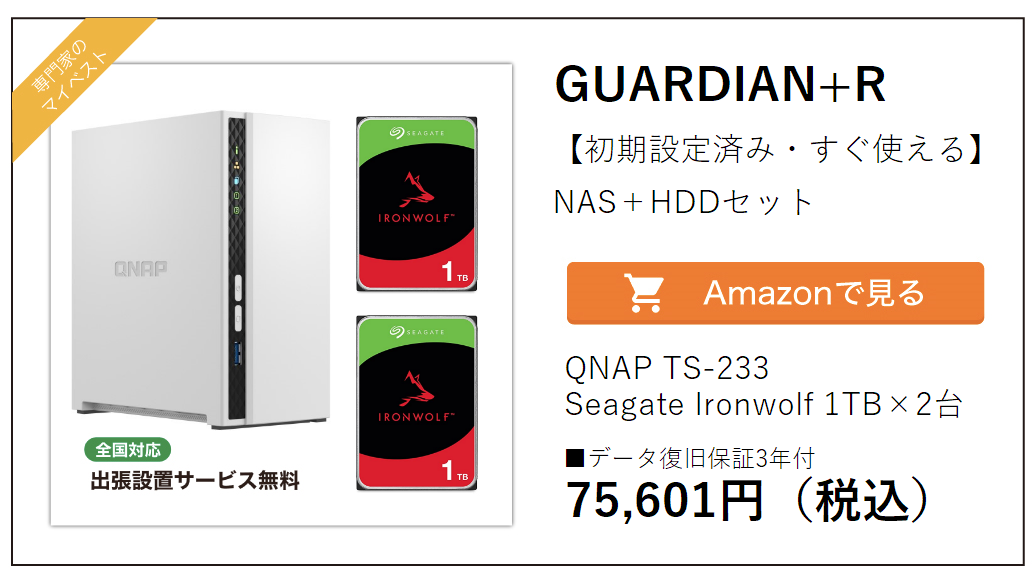
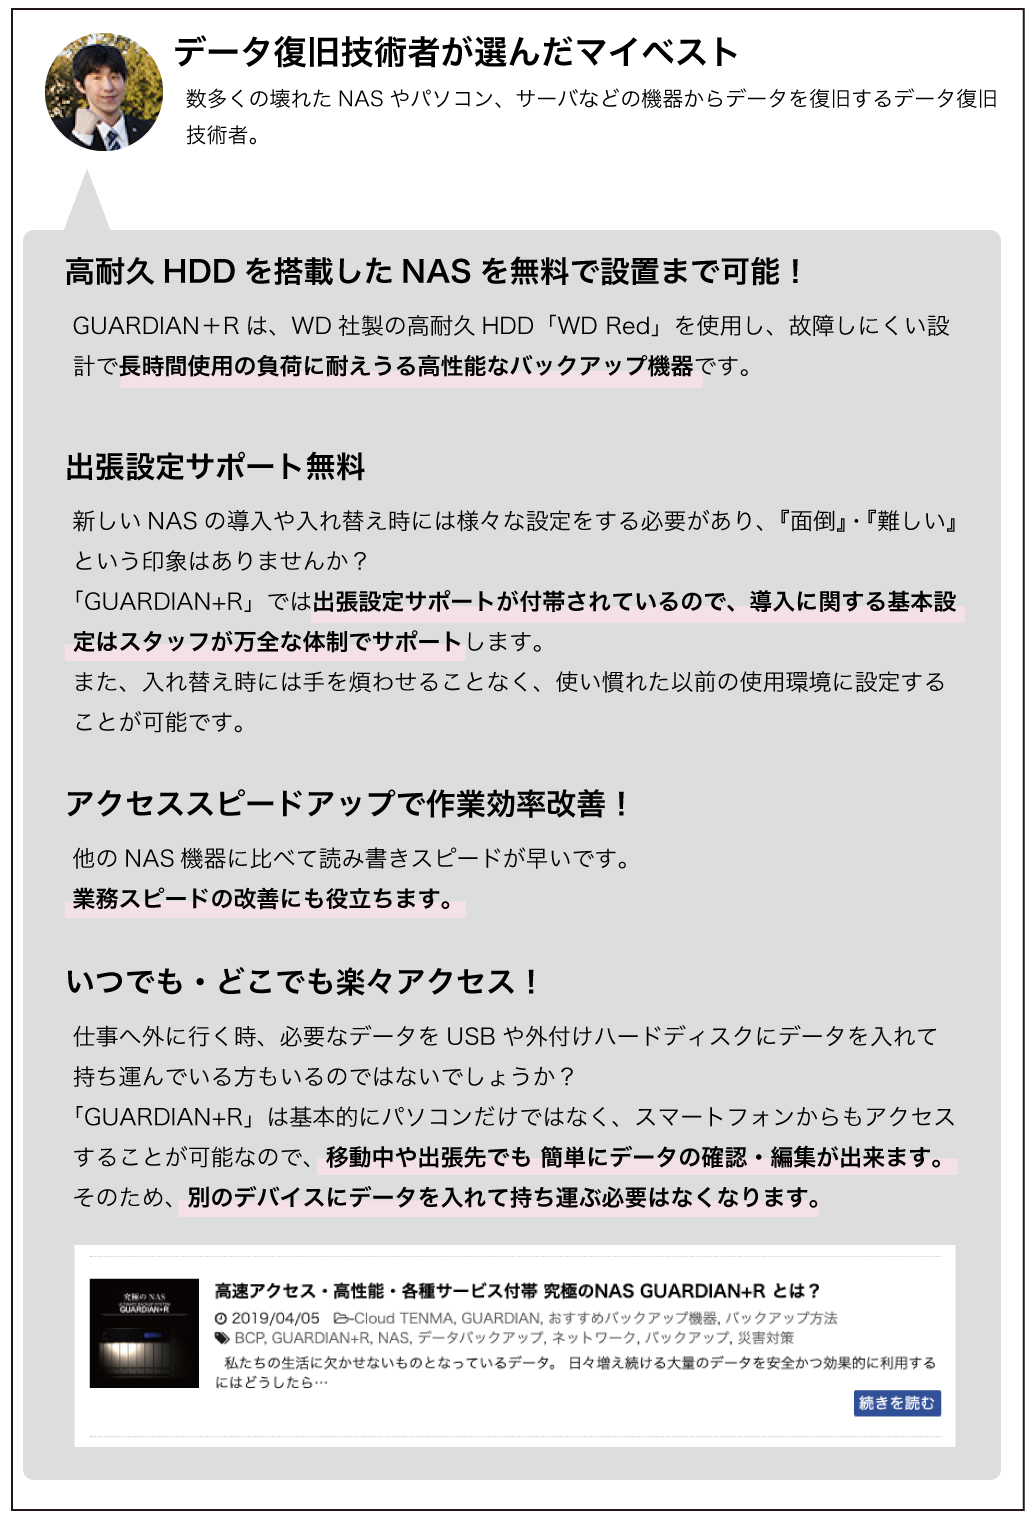
Replus Co., Ltd. provides " GUARDIAN + R " that uses QNAP NAS .
For those who are uneasy about the first purchase, we also provide free business trip setting support, so you can leave the troublesome setting to us.
Data recovery in case of emergency and repair in case of equipment failure or HDD failure are also free of charge. If you have any problems, please feel free to contact us!

Replus Toll Free Number: 0120-703-845

- Hokkaido / Tohoku Hokkaido | Aomori Prefecture | Iwate Prefecture | Akita Prefecture | Miyagi Prefecture | Yamagata Prefecture | Fukushima Prefecture
- Kanto Tokyo | Kanagawa | Chiba | Saitama | Ibaraki | Tochigi | Gunma | Yamanashi
- Chubu Aichi prefecture | Gifu prefecture | Mie prefecture | Shizuoka prefecture | Toyama prefecture | Ishikawa prefecture | Fukui prefecture | Nagano prefecture | Niigata prefecture | Shiga prefecture
- Kansai Osaka prefecture | Hyogo prefecture | Kyoto prefecture | Nara prefecture | Wakayama prefecture
- Chugoku / Shikoku Hiroshima prefecture | Okayama prefecture | Kagawa prefecture | Tokushima prefecture | Kochi prefecture | Ehime prefecture | Tottori prefecture | Shimane prefecture | Yamaguchi prefecture
- Kyushu / Okinawa Fukuoka prefecture | Saga prefecture | Miyazaki prefecture | Oita prefecture | Nagasaki prefecture | Kumamoto prefecture | Kagoshima prefecture | Okinawa prefecture


Author: riplusweb
Related article

NAS is out of order! ?? Thorough explanation of data recovery services for corporations
Many corporations operate NAS as a shared file server, but there are few cases in which maintenance is performed on a regular basis. …

Unexpected usage of NAS Cooperation with network camera
NAS (Network Attached Storage) is increasingly used in businesses and homes. You can connect to the network ...
Minimize the damage of data loss with disaster countermeasures!
In recent years, the word "special warning" has been heard more and more due to typhoons and heavy rains. This special warning has a new standard set in 2013 ...

What is the optimal environment for operating servers and NAS?
In this era when large amounts of data are often handled, many companies are increasingly using servers and large NAS. It keeps running 24 hours a day ...
You can't just set up a backup environment! Two important things to back up
Contents1 Is it okay because I built a backup mechanism? 2 Two important things to back up 2.1 Are you backing up ...


0 コメント:
コメントを投稿